As an auxiliar de conversación or language assistant, I have to apply for a long-term student visa at the Consulate of Spain in the Philippines. Two of its requirements need apostille, namely the 1) NBI clearance and 2) medical certificate and medical results (combined - I’ll explain later).
Because of the pandemic, the steps for apostille were slightly changed as compared to the recent years. In this blog, I’d like to discuss them and share my personal experiences on how I did it.
What’s an apostille
An apostille is any public document authenticated from its origin, recognized by all members of the Apostille Convention. If you’ve heard of the red ribbon before, apostille is now what it is and so there’s no more literal red ribbon pasted on the document. It’s now easier and streamlined to authenticate a document as it doesn’t need to go through the embassy of the country you need the documents for.
The Department of Foreign Affairs (DFA) is the government agency that processes and issues the apostille.
Price:
• Regular (3 working days): PHP 100 per document
• Expedite (1 working day): PHP 200 per document
In line with the auxiliar de conversación program, it’s good to know that Spain is a member of the Apostille Convention, thus apostille is applicable. This means a document with DFA apostille doesn’t need to be authenticated at the Embassy of Spain anymore.
Which documents need apostille
Two documents need apostille:
• NBI Clearance: When you request for NBI Clearance, you get 2 sheets: original and personal copy. Take note that only the ORIGINAL is accepted by DFA for apostille. Also, make sure it’s issued within 3 months.
• Medical certificate and medical results: Now this usually creates confusion, so let me clarify and read the entire section carefully. Before you bring these to DFA for apostille, make sure the medical certificate is authenticated by the Department of Health (DOH) because without the DOH stamp, DFA will not apostille it.
In most cases (including mine), only the medical certificate gets the DOH stamp and not the medical results. Don’t worry though. It’s because language assistants are tagged as student applicants. DOH only stamps the medical results if the applicant is an Overseas Filipino Worker (OFW) or someone applying for a work visa.
When you bring the documents to DFA, put the medical certificate on top (the one with DOH stamp) followed by the medical results. Doing so will let the DFA know that they must be apostilled as one. Note that the Consulate of Spain requires BOTH the medical certificate and medical results to be apostilled, so make sure the medical results are part of the bundle.
Note: Photocopies of these documents are required for the visa application and when you go to Spain. With this, before apostille, photocopy already your NBI clearance, medical certificate, and medical results. Why? Once apostilled, it's hard to photocopy these already because of the round binder attached to the apostille. It's a non-detachable
How to set an appointment
Starting June 2020, due to the pandemic, an appointment is required in all DFA branches for apostille. The appointment system varies per branch. Some require filling up a separate online form while others require you to email only. With this, it’s best to email your preferred DFA branch first:
• DFA Aseana: oca.authentication@dfa.gov.ph
• DFA Northeast (Ali Mall Cubao): ncrnortheast.so@dfa.gov.ph
• DFA West (SM Manila): ncrwest.so@dfa.gov.ph
• DFA East (SM Megamall): ncreast.so@dfa.gov.ph
• DFA South (Metro Gaisano, Alabang): dfancrsouth@gmail.com / ncrsouth.authentication@gmail.com
• DFA Pampanga: pampanga.rco@dfa.gov.ph / rcopampanga@yahoo.com
Note: As of July 23, 2020, there’s no apostille service yet for DFA Cebu and Davao.
How to set an appointment at DFA Aseana
I was told by the clinic where I did my medical exam (Angelus Medical Clinic) that DFA Aseana is most aligned with the Embassy/Consulate of Spain, and that’s why I chose to go to Aseana. However, after asking my co-language assistant applicants, other branches were able to apostille their documents correctly anyway.
After emailing Aseana, I was sent an online form and filled it up (check out my page-by-page guide). It usually takes 2 business days to get an appointment confirmation, but in my case, I received a reply on the next day. Then, I just kept a screenshot of that email on my phone (no need to print), which I presented at the entrance gate of Aseana. Note that only those with an appointment are allowed to enter.
What to bring on the appointment day
• Original documents for apostille (i.e. NBI Clearance, medical certificate and medical results)
• Valid government-issued ID
• Photocopy of that government-issued ID (In case you forgot to photocopy, there’s a Xerox machine near gate 1. It costs PHP 3 per page and PHP 6 if back-to-back)
• Your own pen
The apostille process at DFA Aseana
1. Go to gate 3 for entrance. As required, wear a face mask and the security guard checks the temperature.
2. Still at the gate, fill up the health declaration form. Once done, submit it to the health desk.
3. Walk straight then turn left to see the entrance door. The bags are inspected in the x-ray machine.
4. Once inside, turn right then walk towards the end of the building where the authentication section is at. You pass through the passport claiming area.
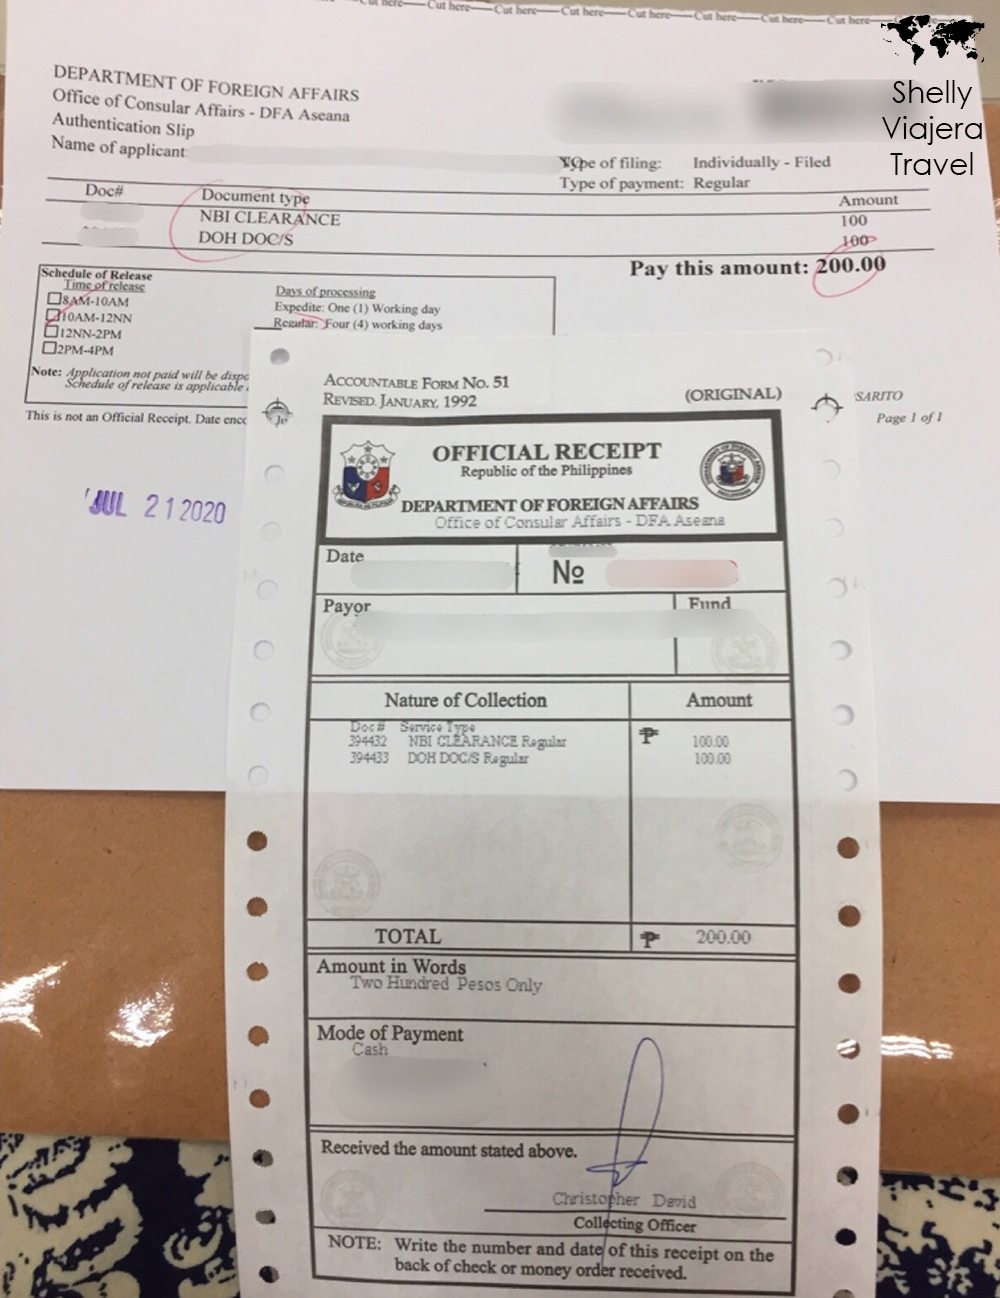
5. Get an application form and fill it up. The form looks like this:
6. Go to the Processing Unit section (windows 1-10) and wait for your turn. With my experience, there were very few people at that time, so I got accommodated right away.
I submitted the application form, photocopy of my government-issued ID, NBI clearance, and the medical certificate and medical results (I stapled them together para wala na talagang hiwalayang magaganap LOL). I made it clear to the female staff it’s for Spain student visa. She was like “Yes ma’am the medical certificate and medical results are counted as one apostille.” After my documents were verified, I was given an authentication slip.
7. Next, go to the cashier (in front of the Processing Unit section), hand the authentication slip and pay the cash payment of P200 (P100 per document).
8. The authentication slip is given back (which contains the date of claiming). Also, a receipt is given. Keep these 2 papers to claim the apostille documents.
9. Take gate 5 to exit.
The apostille claiming at DFA Aseana
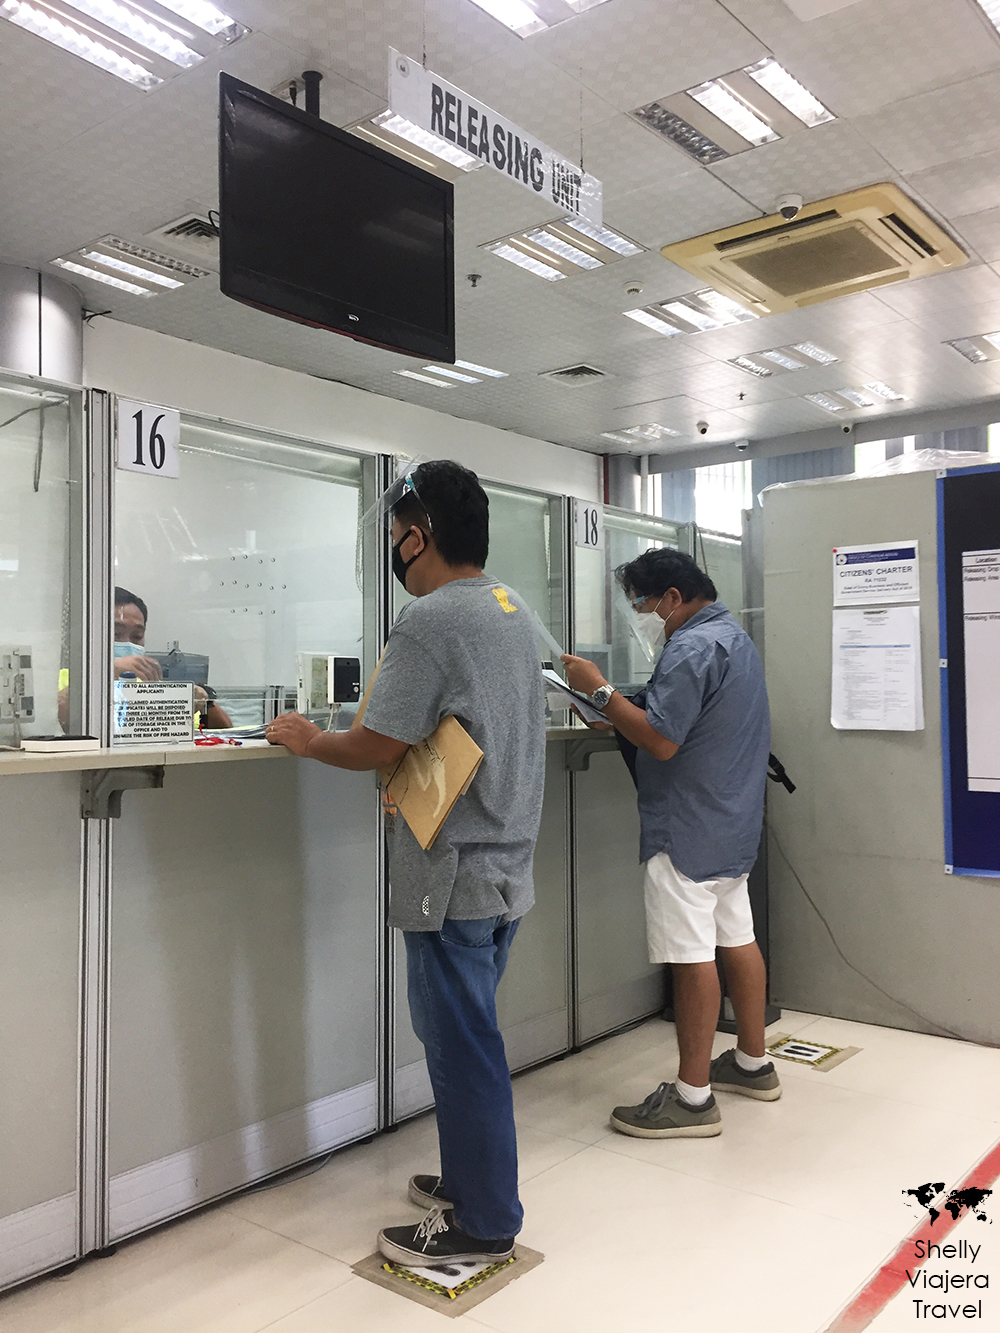
1. Go through the same process to enter. The Releasing Unit is in the same area as the Processing Unit.
2. Look for the door labeled as “19”. It has a hole to drop either the authentication slip or the receipt. Slip the paper in the Regular (P100).
3. Wait for your name to be called via microphone. Once called, proceed to window 16 or 17.
4. Present a government-issued ID to get the apostille documents. Before leaving, of course, check and make sure all details are correct.
Side story: Since only regular processing was allowed, it really took 3 working days for my documents to get apostilled. I went on July 16 for application and the claiming date was July 21. However, when I went back on July 21, DFA Aseana was closed for disinfection! I was there already when I found out! And since there were no jeeps and buses, I had to take the taxi all the time, so imagine the transportation cost and time wasted because of that. :( Anyway, the takeaway of that incident is to always check first before going to a place. I emailed DFA Aseana to ask how to go about the claiming date. They told me that those who were scheduled last July 21 can be accommodated without appointment. So on July 23, I returned and was able to claim my documents in a breeze.
DFA Aseana
Address: Bradco Avenue corner Macapagal Boulevard, Aseana Business Park, Parañaque, 1714 Metro Manila
Operating hours: Monday-Friday, 7AM-4PM
How to Apostille Your Documents for Auxiliares de Conversación
 Reviewed by Shelly Viajera Travel
on
23.7.20
Rating:
 Reviewed by Shelly Viajera Travel
on
23.7.20
Rating:


how to book an appointment for apostille by emailing my preferred dfa branch
ReplyDeletethanks for sharing. big help!
ReplyDeleteHi po pwede mag ask tumatanggap ba Sila ng document na may butas ng fastener?
ReplyDeleteHello. I'm really not sure. But maybe kung hindi naman nabutas ng fastener yung text, okay lang naman siguro.
DeleteDo we need to translate to spanish the medical results? or only the medical certificate?
ReplyDeleteHi! Only the medical certificate.
DeleteHow do I get the medical certificate stamped by DOH?
ReplyDeleteHi! You go to DOH. Some medical clinics process it for you already for a reasonable fee.
DeleteHi , do you have any idea po if other documents such as bank cert and statement of account should be apostilled for student visa in spain?
ReplyDeleteI’m doing a Diy process po kasi kaya I am clueless sa ibang process po.
Hi! Only the NBI clearance and medical certificate + medical results need apostille for student visa as a language assistant in Spain. Double check mo na lang if birth certificate needs apostille if you're applying a student visa for a different purpose (i.e. masters, studying in language school, etc.)
Deletefor those na magpapa medical, make sure na accredited ni DOH yung clinic then need din kumuha kay DOH main office ng Certification. MAdali lang naman kumuha and no need appointment. Just walkin lang then sabihin sa guad na magpapa certify ng Medical cert for na gagamitin sa Apostille. Need magsurrender ng ID then bibigyan kayo ng ID nakalagay kung sang Building kayo pupunta. Pagkadating mo dun ay ipapasa mo medical results mo tas may ibibigay sayo papel then magbabayad ka ng 50pesos sa B3 ata. then balik ka sa pinagpasahan mo ng medical cert then wait na ibigay sayo ang Certification then tapos na. wala pang 30mins makukuha mo na ang Certification mo. Yung ibang clinic sila na nagpaprocess pero ako kasi galing pa Batangas at kami daw ang maglalakad.
ReplyDeleteThanks for sharing :)
DeleteMay I know po kung saan kayo nagpa-test? Kung sa Batangas din po ba? Taga Batangas din po kasi ako. Kung sakaling dito po sa Batangas kayo nagpatest, pwede pong Med Cert & medical results lang kunin ko, then ako na po mag-asikaso ng MedCert authentication sa DOH and DOH Certification?
Delete